必须知道的类别
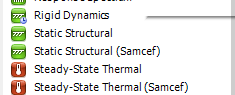
首先,我们必须清楚,ANSYS中经常被使用的有ANSYS Multi-physics和ANSYS Workbench。其中前者常用于分析一些静态结构,例如金属块的拉伸,电磁场的耦合等,而后者主要可以做动态分析,例如,金属构件的拉深成型。
英文的流程
Welcome to ANSYS Workbench!
If you’re new to ANSYS Workbench, we strongly encourage you to take just a few minutes to view some tutorials.
If you prefer to get started immediately:
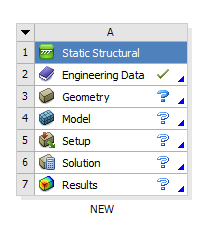
1. Select your desired analysis system from the Toolbox (at left), drag it into the Project Schematic (at right), and drop it inside the highlighted rectangle.
2. Right-click on the Geometry cell to create a new geometry or import existing geometry.
3. Continue working through the system from top to bottom. Right-click and select Edit on a cell to start the appropriate application and define the details for that part of the analysis.
As you complete each task, a green check mark appears in the cell, indicating that you can proceed to the next cell. ANSYS Workbench automatically transfers your data between cells. When you select Save (either from the ANSYS Workbench window or in an application), the entire project is saved.
You can connect systems to build more complex projects. For details, see Working in ANSYS Workbench.
Press F1 at any time for context-specific help.
中文的翻译:
欢迎来到ANSYS Workbench!
如果你要马上开始ANSYS:
- 在左侧的工具箱里选择你期望的分析系统,将他拖入到右边的项目流程图的高亮的长方形之中。
- 右键点击几何板块创造一个新的几何模型或者导入现有的几何模型
- 从上到下的进行步骤,右键并且选择编辑来开始正确的应用而且定义每个分析的部分的细节
当你完成了每一项的任务之后,一个绿色的对勾将会出现在每个板块的右边,这个对勾就意味着你可以进行下一个步骤,ANSYS Workbench 将会自动将你的数据在不同的步骤之间传递。当你选择保存(在ANSYS Workbench或者是在每个独立应用里均可),整个工程就被保存完毕了。
你可以通过链接系统来建造更多复杂的工程。
你可以在任意时刻按下F1获取特定目录的帮助。
一个简单的应力分布分析
在workbench中做一个最简单的例子:一个模型围绕其对称轴做定轴转动,以说明workbench对于机构运动的仿真能力。
- 进入workbench,创建一个静力学仿真的项目流程图
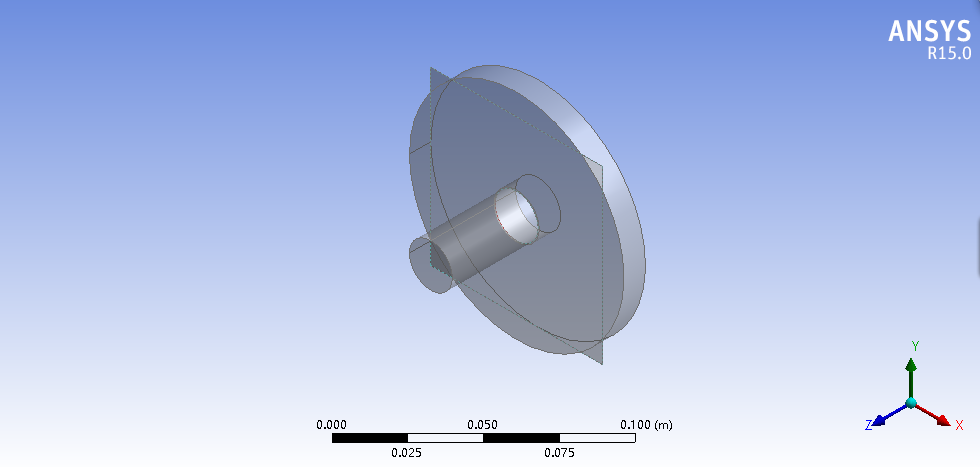
- 在Design Model中创建一个圆面
右键点击Geometry,选择New Geometry来进入Design Model来创建一个几何模型。或者导入一个几何模型,这里我们在UG NX中已经创建了一个模型,我们导入即可。(需要指出的是ANSYS始终对prt文件兼容性极差,所以在使用UG导出模型的时候,建议使用IGS格式,在ANSYS Multi-physics里面同理)在导入之后,点击导入的模型,然后点击Generate生成UG中设计的几何模型。然后点击SAVE
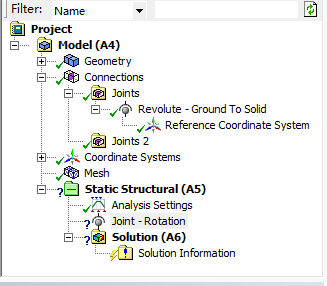
- 添加一个转动副
在项目流程图中右键model,进入到mechanical之中。
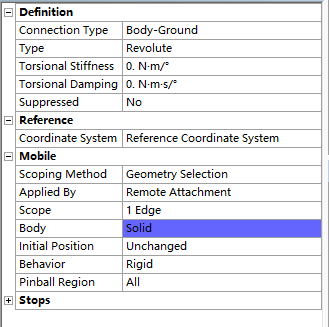
在model中的模型树(左边)中添加一个connection注意将Connection Type置为Body-Ground,Type置为Revolute, Scope设置为Edge,选择一条边
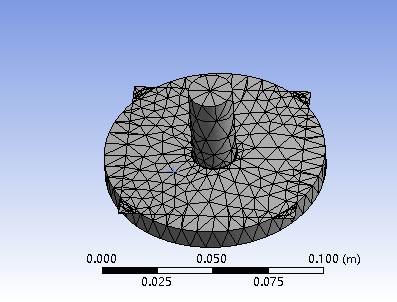
模型划分网格的结果如下面的情况:
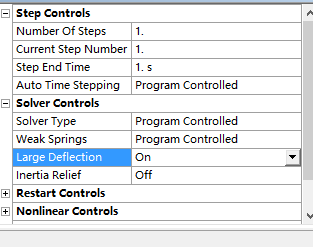
- 设置分析选项
在static structrual下的analysis setting中打开大变形开关(large deflation)从而符合标准。
- 添加驱动
在模型树的static structrual上单击右键,在弹出的快捷菜单中选择joint load
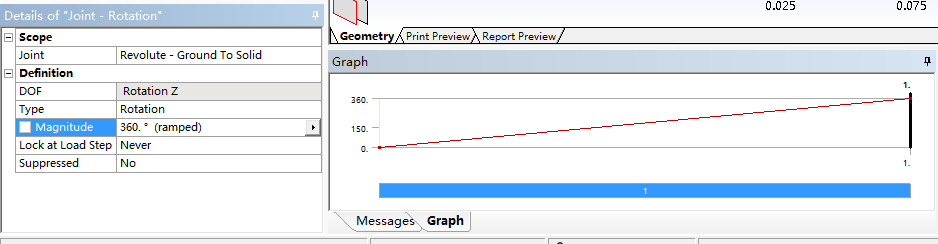
并且设置Magnitude为360°,几何图像可以由Graph得出,也就是绕Z轴旋转一周。
- 进行仿真
右键Solution并点击Solve,即可进行仿真操作。
- 查看运动动画
